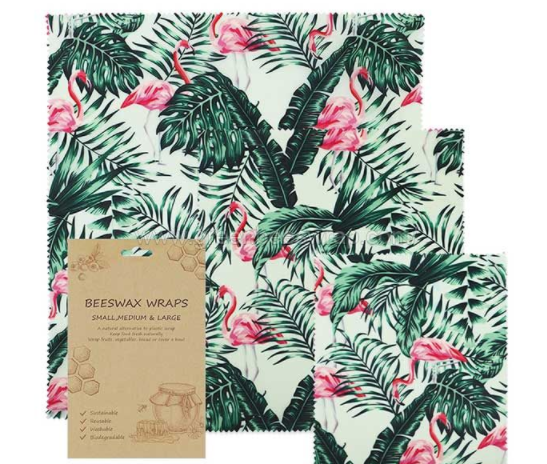
Beeswax wraps are a sustainable alternative to plastic food coverings. To make a beeswax wrapper, first cut a cotton fabric to your preferred size and then grind a large piece of beeswax into smaller pieces. Then sprinkle the beeswax over the fabric and put it in the oven until the beeswax has melted. Use a paintbrush to paint out the beeswax and then once the wrap is dry, it is ready to use.

Method
Obtain 100% cotton fabric. For a zero-waste option, use clean, old sheets or pillowcases, or go thrift shopping to find bright patterned fabrics. Alternatively, buy new cottons from craft shops or online.
Preheat the oven to 185°F (85°C). Turn on the oven and set it to the regular baking setting. Allow the oven to preheat while you prepare to make the beeswax wrapping material.
Measure the fabric to the size you like. Use a ruler to measure 12″ x 12″ or 8″ square. Mark the fabric with chalk.
Cut the fabric with scissors. Use your preferred size for the square of fabric. You may choose to start with one package or, if you want to make more than one package at a time, cut out multiple squares.
Grate the packaged beeswax blocks into small pieces. Use a cheese grater to grate the beeswax. You will need about 0.5 oz per 8 inch package.
Sprinkle the beeswax onto the fabric. Place the fabric on an old baking sheet covered with parchment paper and then evenly sprinkle the grated beeswax over the entire surface of the fabric.
Place the fabric and beeswax in the oven for about 5 minutes. With the fabric covered in beeswax place the old baking tray in the oven. As soon as the beeswax has melted, remove the baking tray from the oven.
Using a paintbrush, apply the beeswax evenly to the fabric. Make sure the whole fabric is covered in wax. Check that the whole fabric looks wet, including the corners, as this means that the melted beeswax is in all the right places.
Hang the parcel on a clothesline to dry. Once the beeswax has covered the whole fabric, hang it on a clothesline to dry. If you don’t have a clothesline, create a makeshift one by hanging a rope or string over the doorway. The drying process will take no more than 15 minutes.
Wrap around the food with beeswax. To cover the bowl, simply lay the wrap flat over the bowl and fold it over the edge of the bowl. For food items, place the item in the centre of the wrap and fold it around the shape.
As beeswax is a purely natural material, the packaging containers made are pollution free, golden in colour, bright and beautiful, hold the honey with a pure and natural beauty and maintain the natural door flavour of the honey and are suitable for long term storage. We have them for sale and if you want to buy some please contact us today.
This is Steps to DIY Your Own Beeswax Wraps!, if you are looking for quality and reliable food packaging manufacturer, food packaging wholesaler, please Contact us and you will get exclusive customized service.


